
I Used This iPhone Feature to Get My Free Time Back
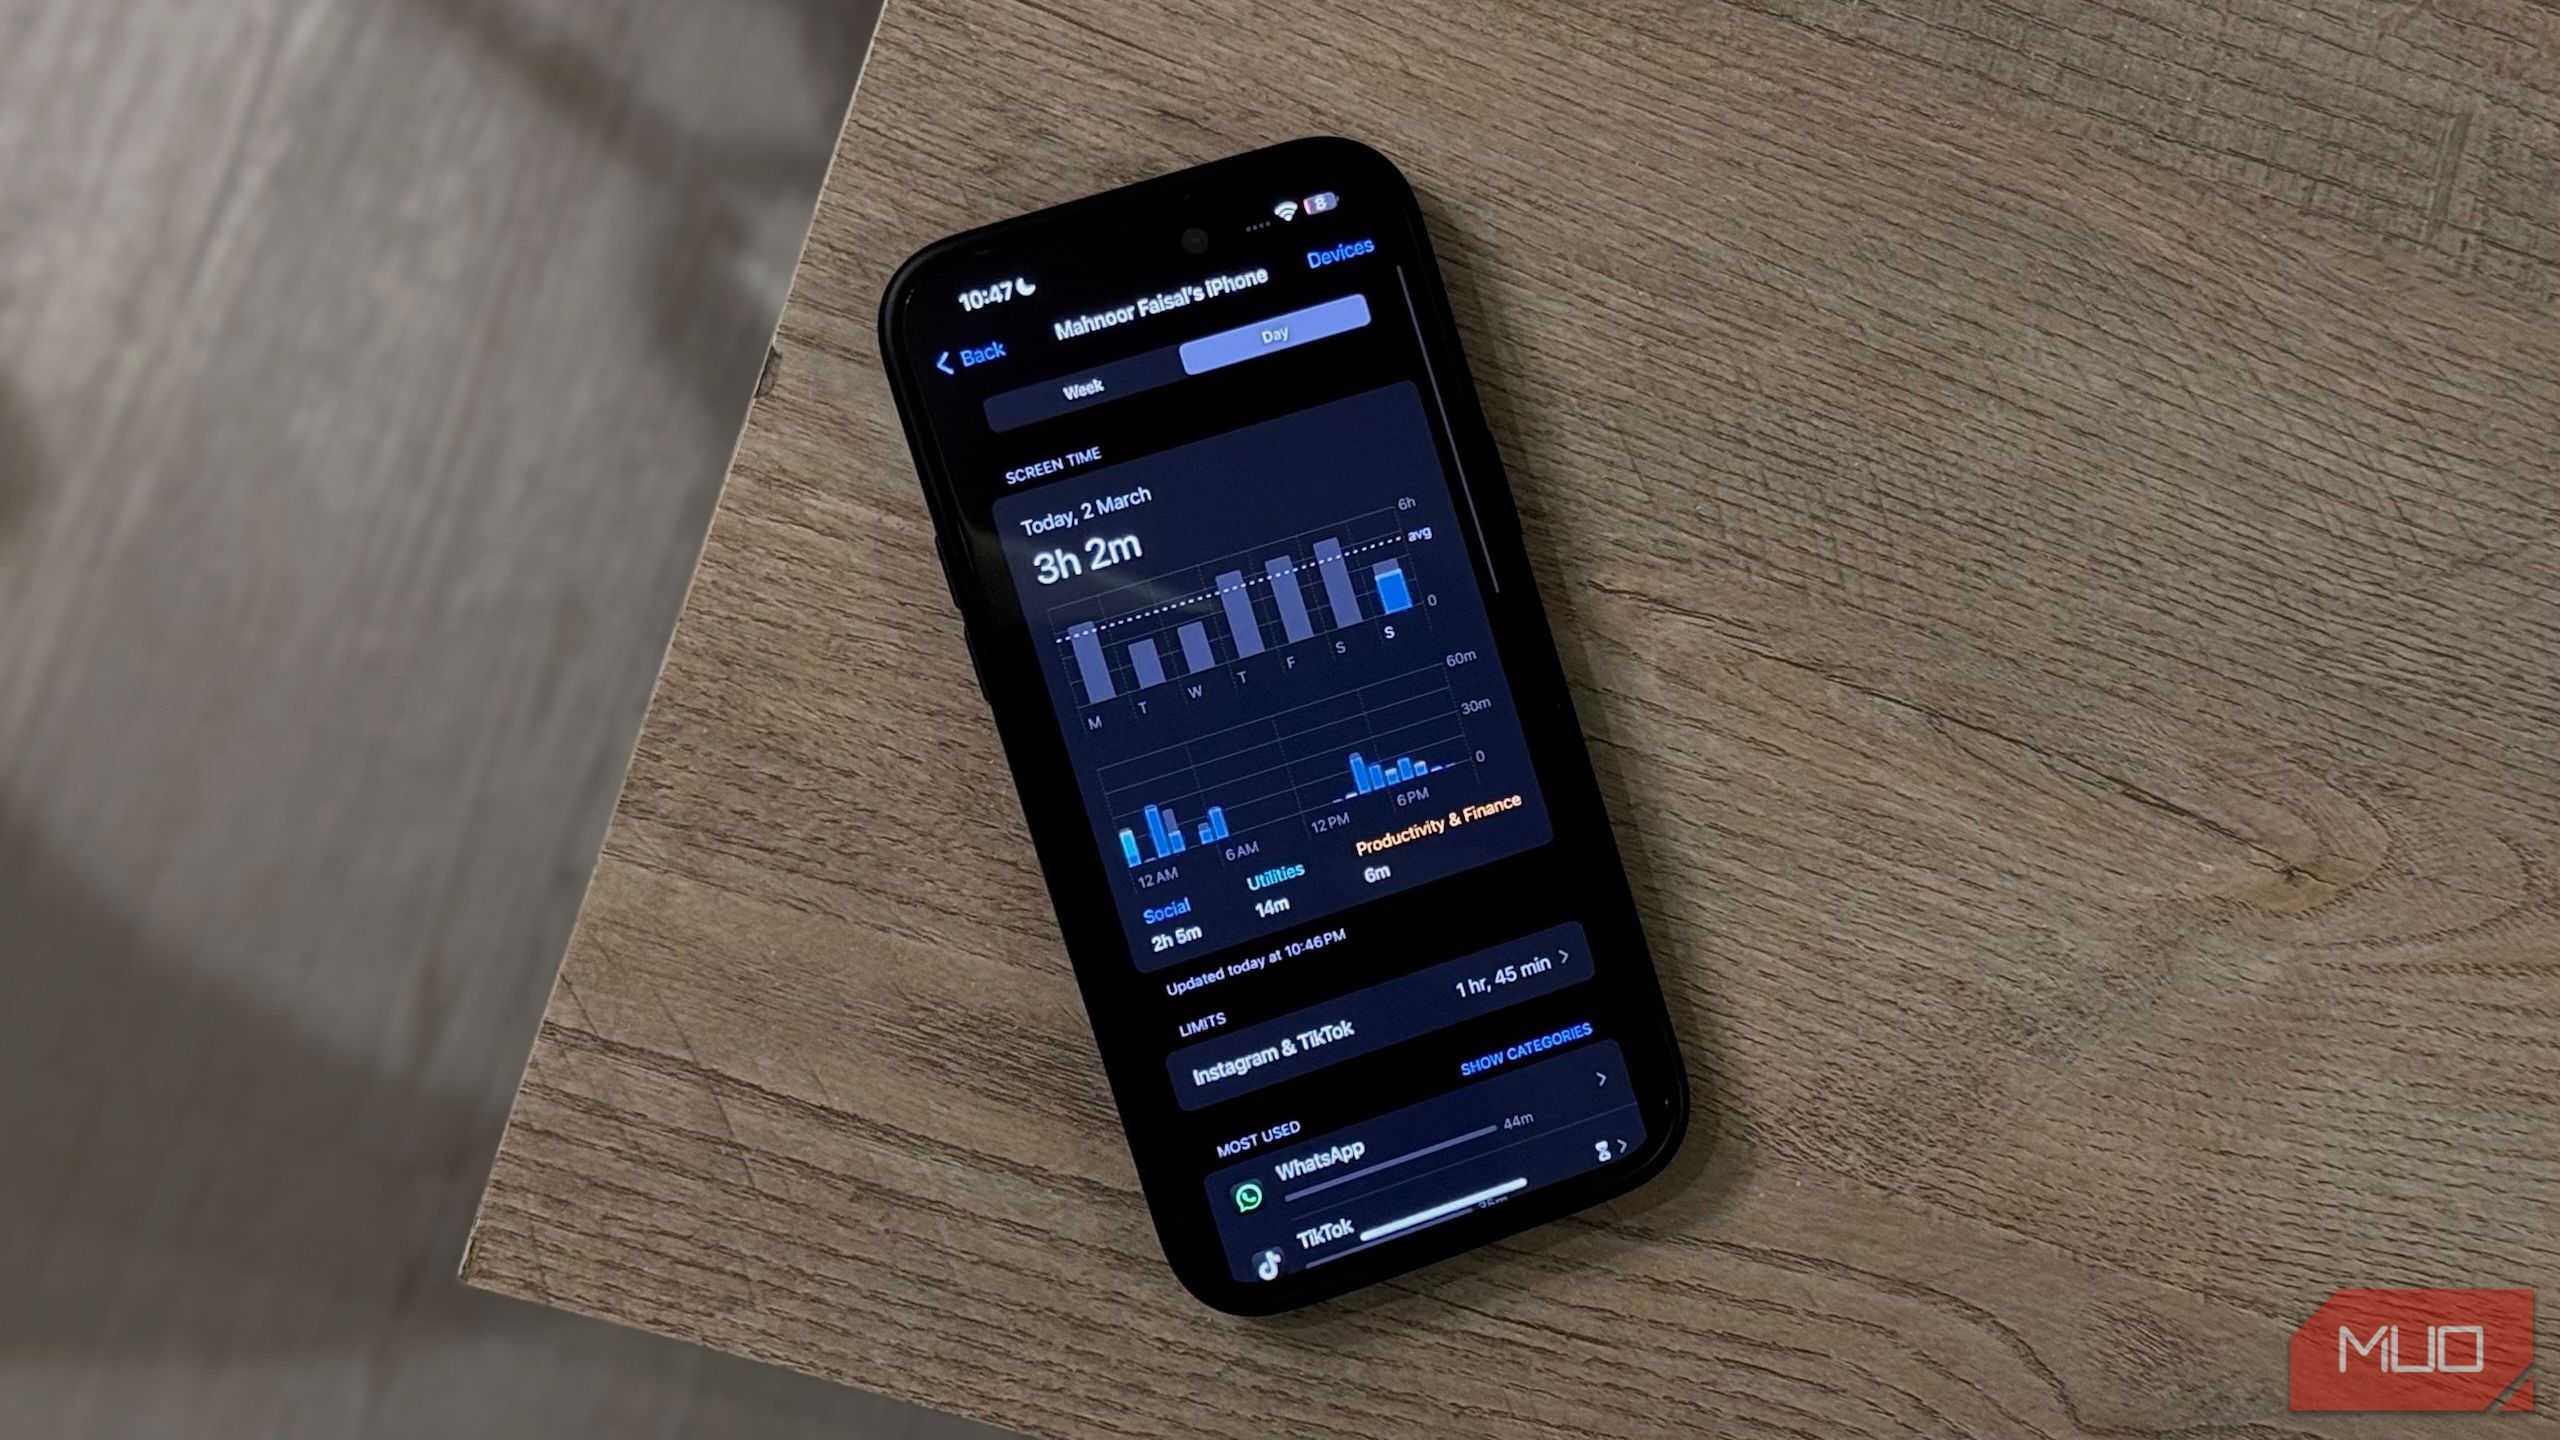
I’ve managed to cut my screen time from 8 hours per day (embarrassing, I know) to less than 3 in the past few months. Surprisingly, I owe it all to a built-in feature found across all Apple devices.
Downtime Stops Me From Using My iPhone Before Bed
One of the easiest times to spend hours mindlessly scrolling on TikTok or cozying up with an episode of your comfort TV show is right before bed.
While we’re speaking of TV shows…
Why I Always Turn Off Autoplay on Netflix (and How to Do It)
I love Netflix, but I hate how it sucks up my time when I’m not careful.
Instead of trying to reduce my phone usage throughout the day, I started by focusing all my efforts on unlearning the bad habit of using my phone at night. I tried everything, like placing it at the other end of my room, enabling Do Not Disturb, even putting it in another room entirely, and switching to a traditional alarm clock. But nothing worked for more than a few days.
That was until I discovered Downtime. This built-in feature lets you block apps and notifications for a specific time of the day. During this period, you’ll only be able to use selected apps and receive calls from certain contacts. You can check both settings by heading to Settings > Screen Time and tapping Always Allowed.
Downtime applies to all the devices signed into your iCloud with Share Across Devices enabled.
How to Enable Downtime
To enable Downtime, go to Settings > Screen Time. Then, tap Downtime under the Limit Usage header and enter your Screen Time passcode, if you have one.
Now, you have two options: you can either tap Turn On Downtime Until Tomorrow (midnight) or toggle on Scheduled to enable it automatically. If you choose the latter, like I have, you’ll be able to select Every Day or Customize Days to set a schedule. Then, tap Time to choose the start and end time for Downtime. I have it enabled overnight.
Once it’s on, you’ll get a 5-minute reminder (in the form of a notification) before Downtime begins. All apps not on your Always Allowed list will be grayed out on your iPhone’s Home Screen.
If you try to open one, you’ll see a “You’ve reached your limit on [App Name]” screen. Below an OK button, there’s an Ignore Limit option, and tapping it gives you the choice of One More Minute, Remind Me in 15 Minutes, or Ignore Limit For Today.
The options you see when you open a grayed app will differ if you enable Block At Downtime in the Downtime settings. For instance, you’ll see an Ask For More Time option instead of Ignore Limit. The Block At Downtime option will only appear if you have a Screen Time passcode.
App Limits Prevent Me From Wasting Time on Certain Apps
I’d have a hard time believing you if you said you’ve never picked up your phone to set a timer or transfer a file between your iPhone and Mac, only to accidentally land on a social media app and then spend a good thirty minutes scrolling.
While this might not seem like a big deal, those minutes add up fast. This was a huge problem for me until I turned on App Limits.
This feature works similarly to Downtime, but instead of restricting all apps except those you allow, it does the opposite. It lets you limit specific apps or entire categories. To enable it, go to Settings > Screen Time and tap App Limits under Limit Usage. Toggle on App Limits and tap Add Limit. Then, choose an app category (or multiple) and either select specific apps within it or limit the entire category.
For example, if you want to cut down on Instagram and TikTok like I did, select the Social category, then tap TikTok and Instagram. Tap Next in the top-right corner and choose how much time you’d like to allow per day. If you want different limits for each day, tap Customize Days.
Now, when you exceed your set time, you’ll see a “You’ve reached your limit on [App Name]” screen.
Even When I Extend an Apps Limit, It Keeps Me in Check
Unfortunately, App Limits are somewhat easy to bypass. When the “You’ve reached your limit on [App Name]” screen appears, there’s an Ignore Limit button right below OK. Often, the initial warning is enough to make me close the app and put my phone down.
But I won’t lie—there are days when I still tap Ignore Limit, which then gives me three options, like Downtime: One More Minute, Remind Me in 15 Minutes, and Ignore Limit for Today. More often than not, I go with Remind Me in 15 Minutes, only to be soon hit with yet another (humiliating) notification reminding me I’ve exceeded my limit.
That notification is usually enough to make me feel guilty and snap me out of my scrolling spree. Sure, it means I spent an extra 15 minutes on the app, but that’s still a huge improvement over losing hours to endless scrolling.

Related
7 Ways I Avoid Doomscrolling on Social Media
The end of doomscrolling!
The Screen Time feature isn’t just useful for tracking the time you spend on your Apple devices. It also includes a couple of features that can help drastically cut down on your phone usage. Downtime and App Limits are definitely the most effective ones, and after using them consistently, I can confidently say they’ve made an enormous difference. I just wish I had found them sooner!