
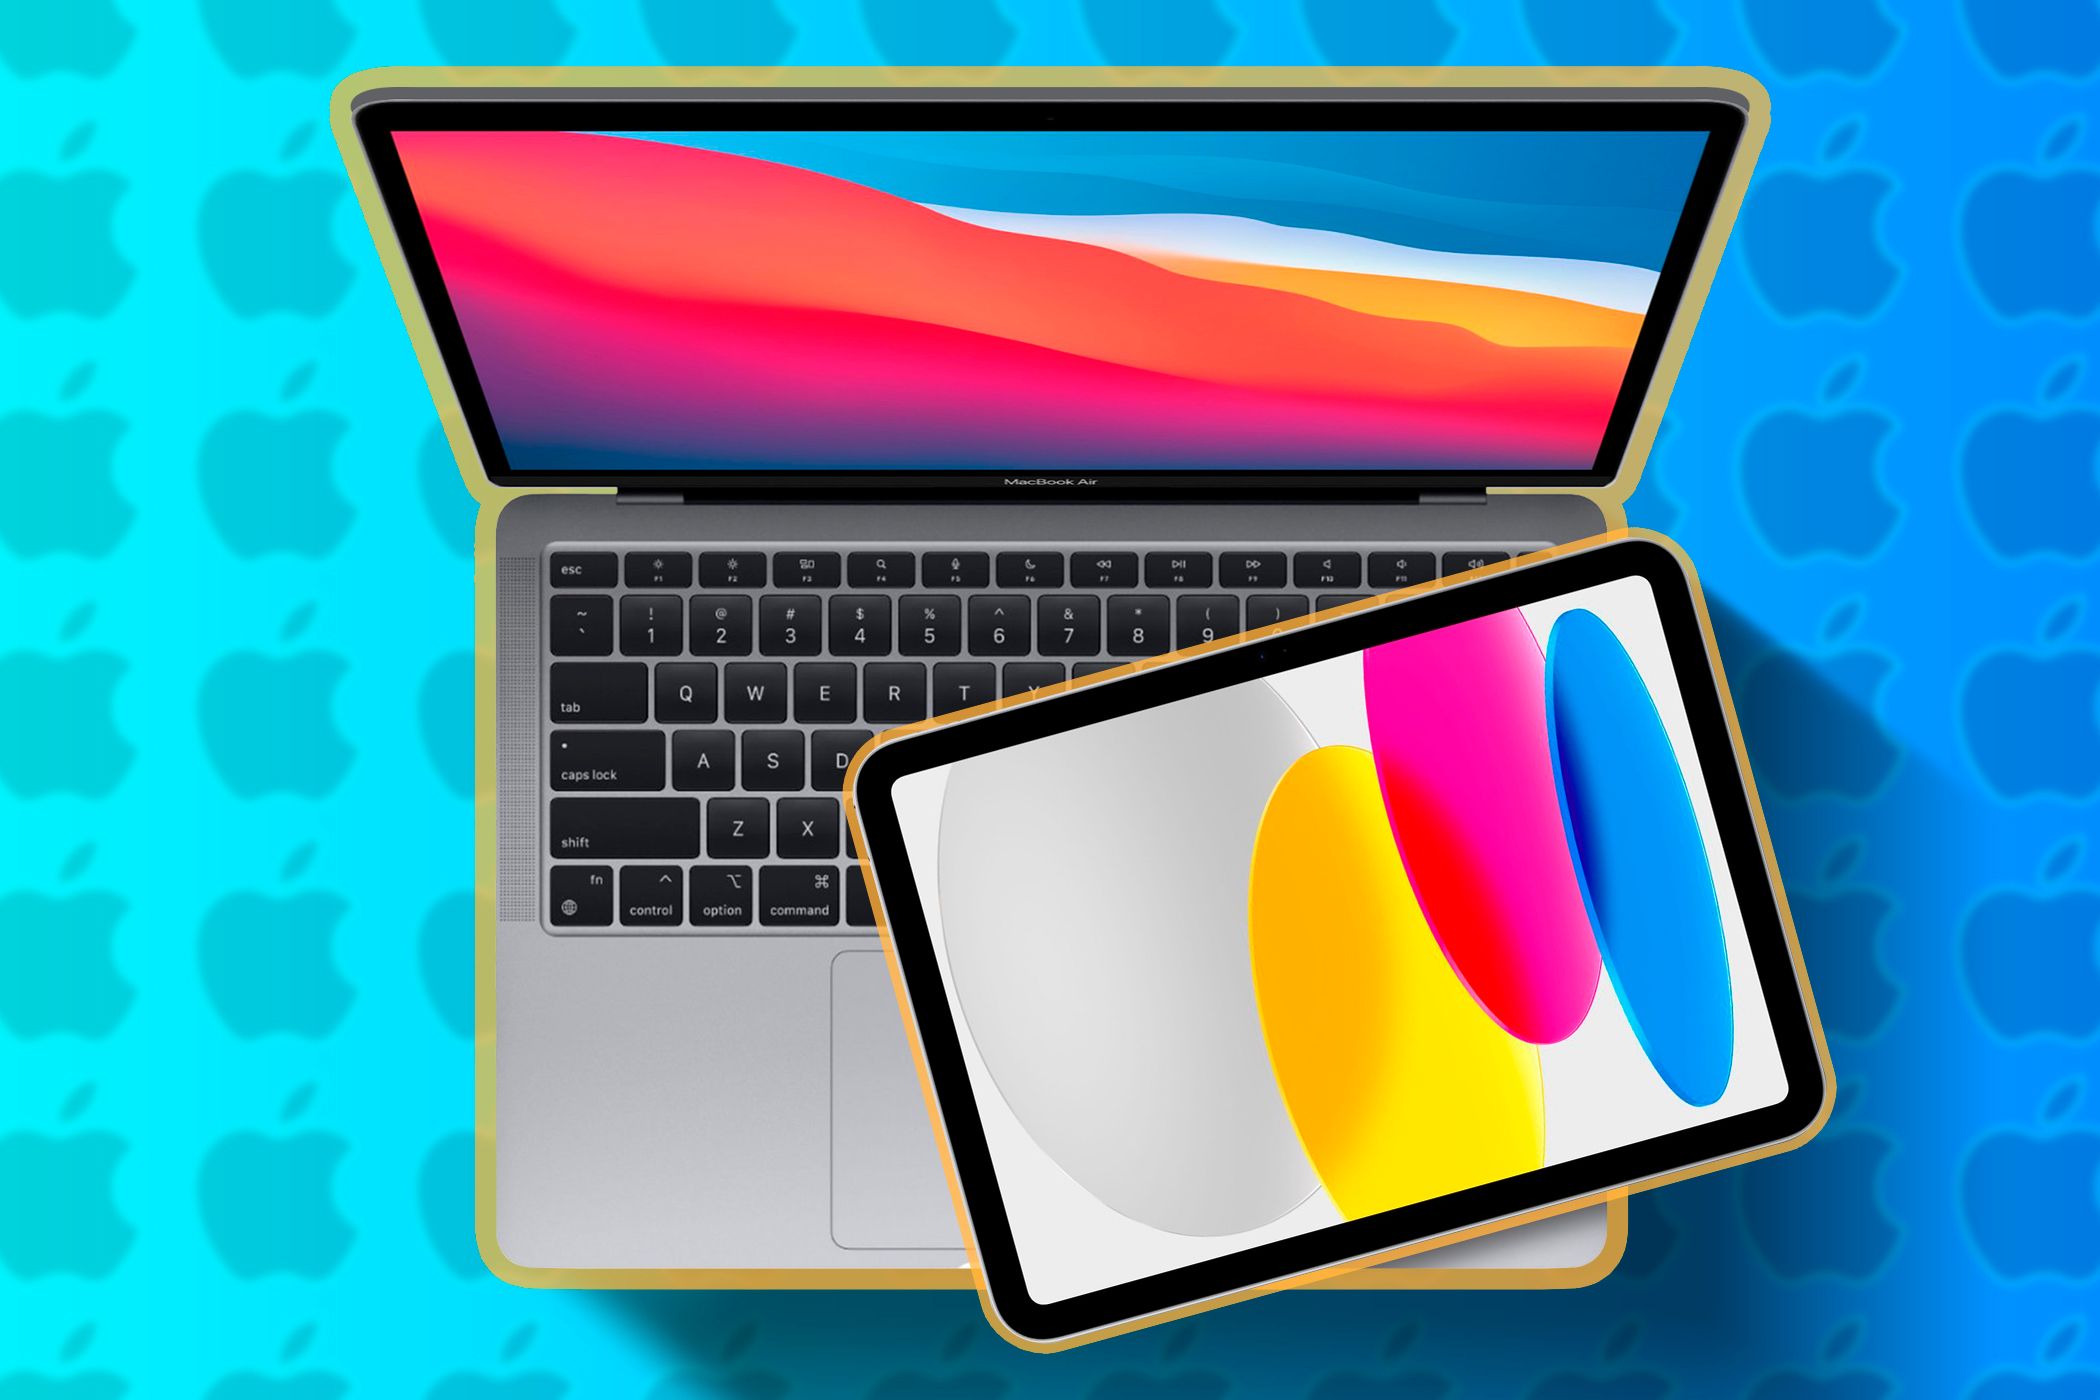
5 Things a Mac Can Do That Your iPad Can’t
When used together, a Mac and iPad complement each other, thanks to various Apple Continuity features. Depending on your workflow, you may be inclined to pick an iPad over a Mac. However, there are still many things an iPad can’t do that a Mac can.
1 Download Third-Party Apps From the Internet
With an iPad, you’re limited to downloading apps from the Apple App Store. On the other hand, you can install third-party apps on your Mac from both the App Store and the web, especially after you completely disable Gatekeeper.
While you should be able to find most of the apps you need to use daily on the App Store, it can still be quite limiting. For example, if you purchase an iPad for college, you may soon realize that you can’t download certain software you need for your degree.
One notable example is Visual Studio Code, which is available for Macs but not iPads.
2 Macs Let You Multitask Better
Sure, with an iPad, you can use Split View and Slide Over to efficiently multitask on your iPad. If you want to take it one step further, you can also use Stage Manager on your iPad to use more than three apps simultaneously.

Despite all that, multitasking on a Mac is much better. Even though you can use Split View and Stage Manager on your Mac, the best part about multitasking on a Mac is that you aren’t limited in the number of tabs, windows, and apps you can use simultaneously.
You can also use Mission Control on your Mac to see your Split View screens and all your open windows.

Additionally, you can create multiple desktops with Mission Control to better organize your workflow. The macOS Sequoia update, which Apple plans to roll out in fall 2024, makes window tiling even easier. You will be able to drag windows to the edge of the screen and snap them in place.
3 Capture a Portion of the Screen
Capturing a specific portion of the screen is handy when you want to show the relevant bits without revealing your entire desktop. On an iPad, you’re limited to taking a screenshot or screen recording of your entire screen and then cropping it to focus on a specific part of your screen.

On the other hand, with macOS, you can simply hold and press the Shift + Command + 4 keys simultaneously. All you need to do is drag the crosshair across the part of your screen that you’d like to take a screenshot of, and that’s it!
Similarly, if you’d like to screen record instead, you can do so by pressing Shift + Command + 5 keys simultaneously. Now, choose the Record Selected Portion button. Simply adjust the box that appears to cover the part of the screen you’d like to record and click the Record button.

While this isn’t a major feature that will drastically transform your workflow, it can help you save some time if you capture your screen frequently.
4 Act as an AirPlay Receiver
AirPlay lets you wirelessly stream content or mirror your Apple device’s screen to nearby AirPlay receivers like an Apple TV, HomePod, AirPlay-enabled TVs or speakers, or even your Mac.
Unfortunately, while you can stream content or mirror your iPad’s screen to a Mac, you can’t mirror your Mac’s screen to an iPad because the latter can’t serve as an AirPlay receiver. You can mirror your Mac’s screen to another Mac, though—or any other AirPlay receiver you own.

Additionally, macOS Sequoia introduces iPhone Mirroring to let users interact with their iPhones directly from their Macs. Unfortunately, this is not one of the iPadOS 18 features Apple announced at WWDC 2024.
5 Manage Files More Efficiently
As someone who uses an iPad and Mac for work and college, I can confidently say that the Files app on the iPad is quite limited compared to Finder on Mac. On an iPad, you can sort your files by Name, Kind, Date, Size, and Tags.

In contrast, you have more options on a Mac, like Date Last Opened, Date Added, Date Modified, and Date Created. This means the Files app lacks subcategories under the sort by date option. While this may seem minor, being able to sort files by the last time you opened or modified them can be very useful if you frequently edit documents.

Additionally, while you can group files via Tags in the Finder, you can’t do the same in the Files app. There’s also no “Open With” option in the Files app, which can be inconvenient.
Finder on macOS also allows you to customize how your files and folders appear. You can choose between a list view, column view, icon view, or gallery view, whereas the Files app lacks the gallery view. Finder also lets you create Smart Folders, which automatically gather files based on criteria you specify—another feature not available on iPadOS.

Ultimately, while the Files app on your iPad will suffice for managing a smaller number of files, such as for schoolwork, things can get quite chaotic if you have hundreds of documents.
Before you decide between an iPad and a Mac, I recommend glancing at your workflow. Remember that iPads don’t come with a keyboard. So, basic tasks like drafting emails and navigating your device can be cumbersome unless you invest in one of the best iPad keyboards.
If you anticipate needing to perform any of the tasks mentioned above, an iPad may not be a great purchase unless you already own a laptop or desktop.