How to Automatically Capture Game Highlights With Any GPU
Quick Links
Key Takeaways
- Most game highlighting software only tags events that happen during a full recording or require you to manually use hotkeys to capture them yourself.
- Outplayed is an event-based highlight capture app that automatically captures in-game events like deaths, knockdowns, and headshots.
- Unlike GeForce Experience, you don’t need an Nvidia GPU to use Outplayed.
While many PC gamers use GeForce Experience to capture game highlights, the software requires an Nvidia GPU. Thankfully, Outplayed can automatically capture highlights with any graphics card brand.
Why Most Highlight Capture Apps Are Bad
If you’ve ever heard of the term “clip it”, you’ll know that there really isn’t a game capture app that can just do that for you automatically. Nvidia’s GeForce Experience can automatically capture highlights, but there are two major downsides to it: only a few popular games support it and you need an Nvidia GPU.
While you can record gameplay on Windows, most alternative highlighting apps require you to press a hotkey to record the past few seconds or minutes. This can easily be forgotten when you’re focused on the game.
Some highlight apps tag highlights, but they require you to record the entire session. This leaves you with a huge file and needing to sort through the footage to find which clip is from which match.
How to Use Outplayed for Game Highlights Recording
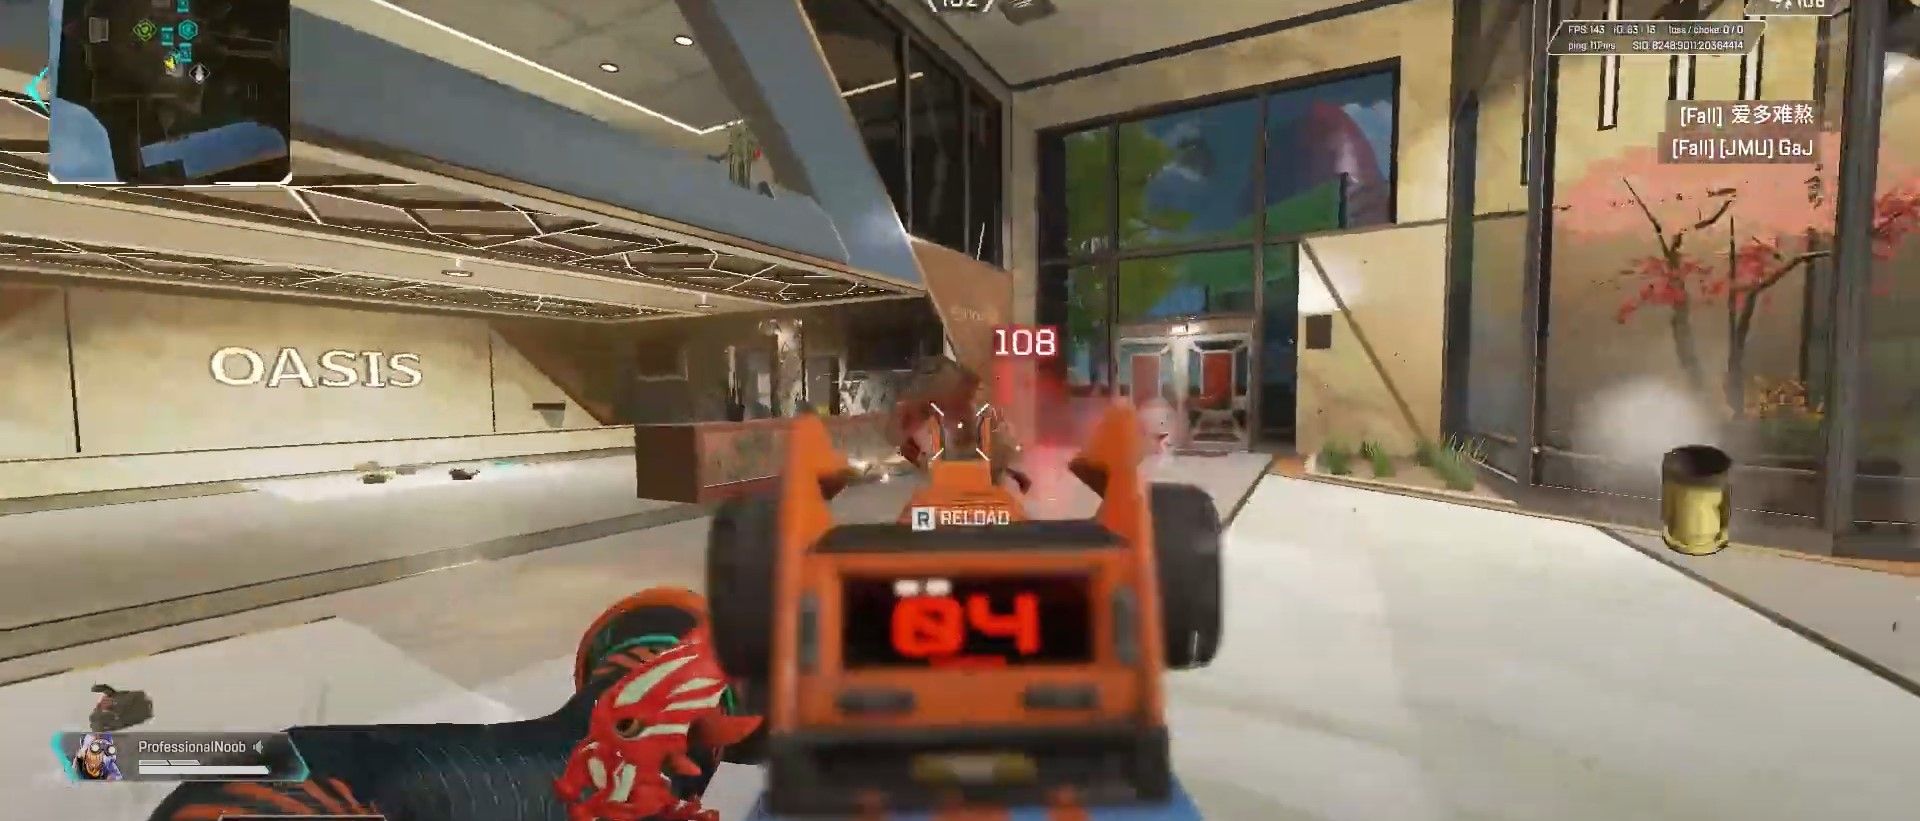
Of the many highlight apps I’ve tried, Outplayed does it better than any other. It uses event-based capturing; like capturing deaths, knockdowns, and headshots.
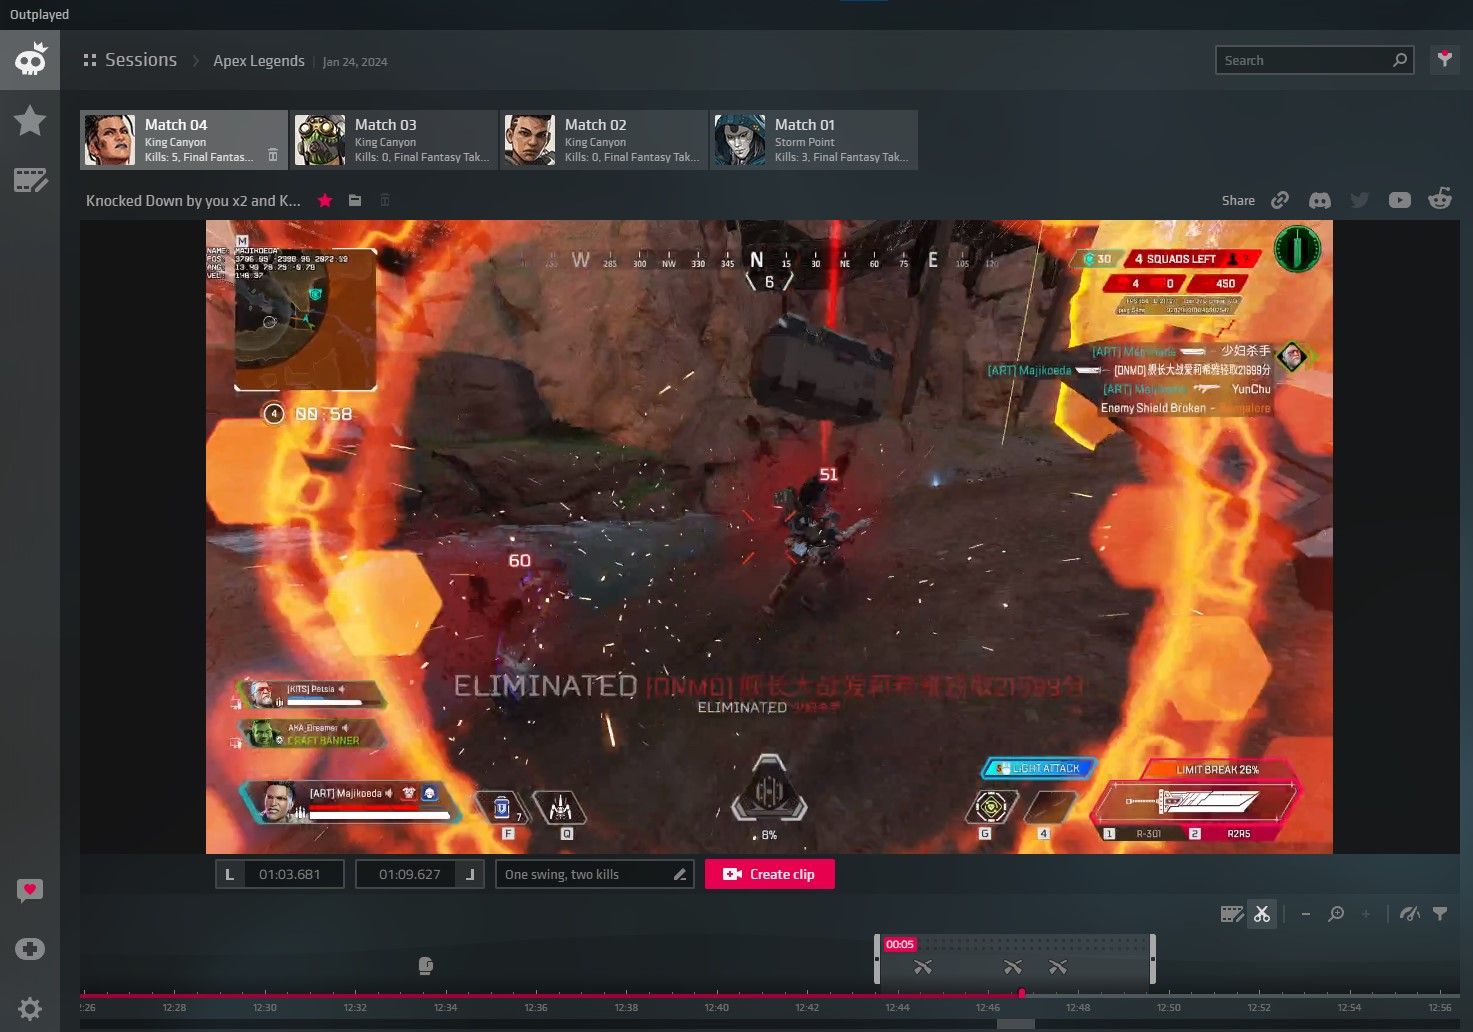
It also comes with a user interface that opens up after your gaming session so that you can edit, save, and upload everything from the app. There’s barely any performance hit, though lower-end systems may feel an impact.
Nvidia requires the developers to implement the highlighting feature in their game, but Outplayed’s software can recognize those in-game events. That’s how Outplayed supports over 2,000 games, with its community voting on the next game to add support to.
1. Install Outplayed
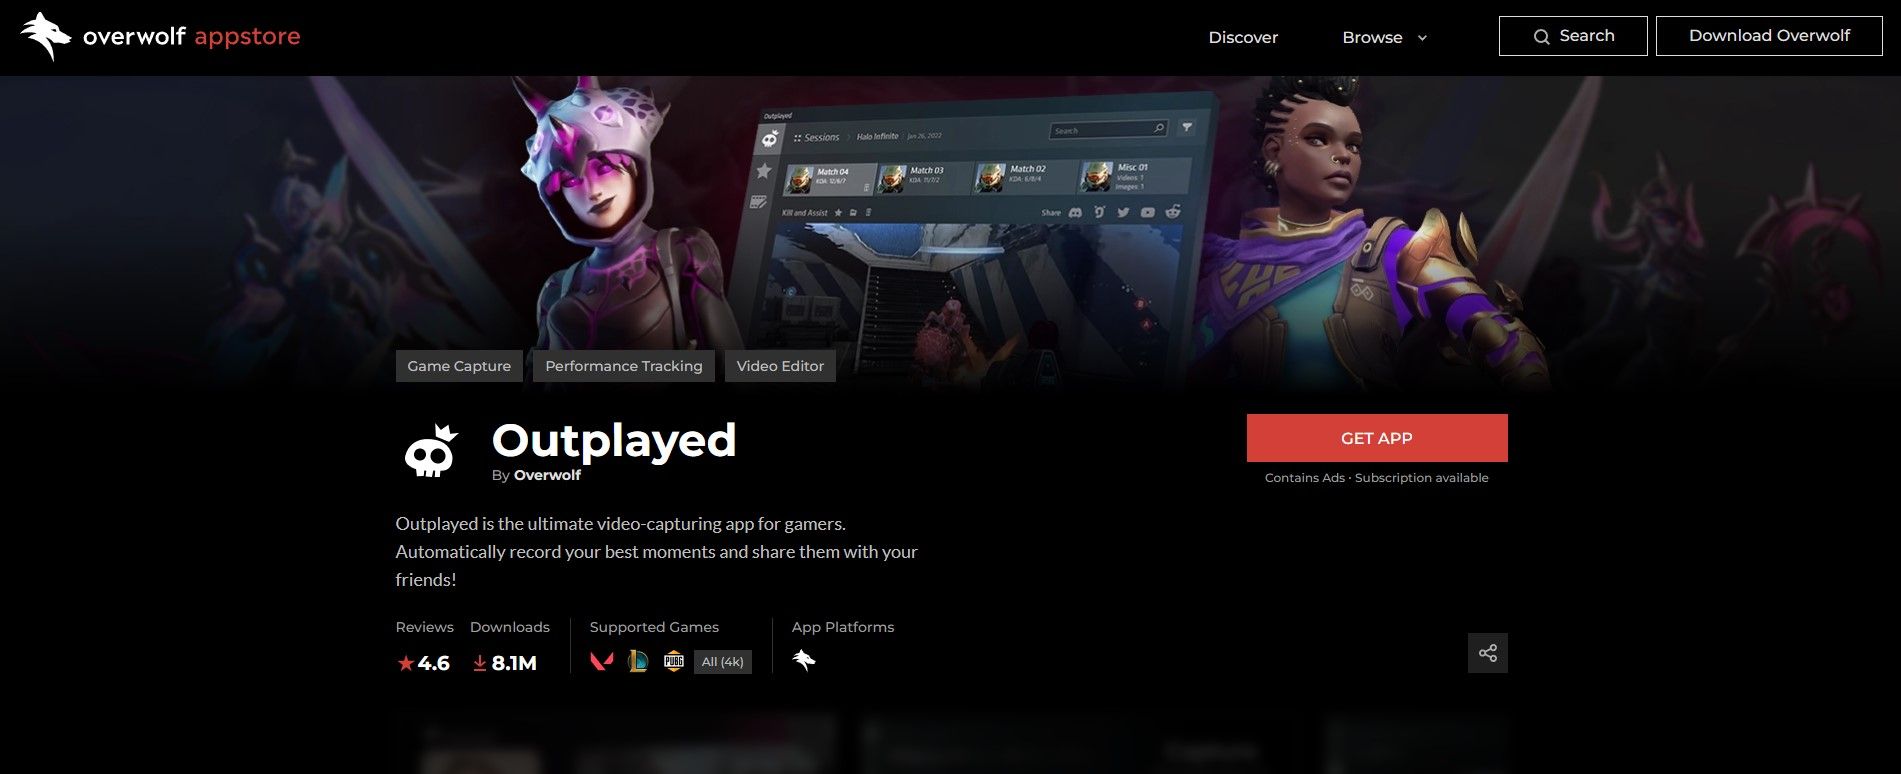
If you want to use Outplayed, get it from the Overwolf app store. Just download and run the executable file that installs Outplayed.
You might also want to disable the GeForce overlay to avoid any overlapping hotkeys.
2. Make Sure Your Game Is Supported
Outplayed supports most online multiplayer games that have a competitive side to them. This means that if the game you play is popular and has your usual kill, death, and assist events; it probably supports it.
When launching a game for the first time, a pop-up will appear prompting you to choose whether you want to record the entire session, record it manually, or use automatic recording if it supports it. This can get annoying, but you can turn it off in the Notifications tab on the upper left in the settings.
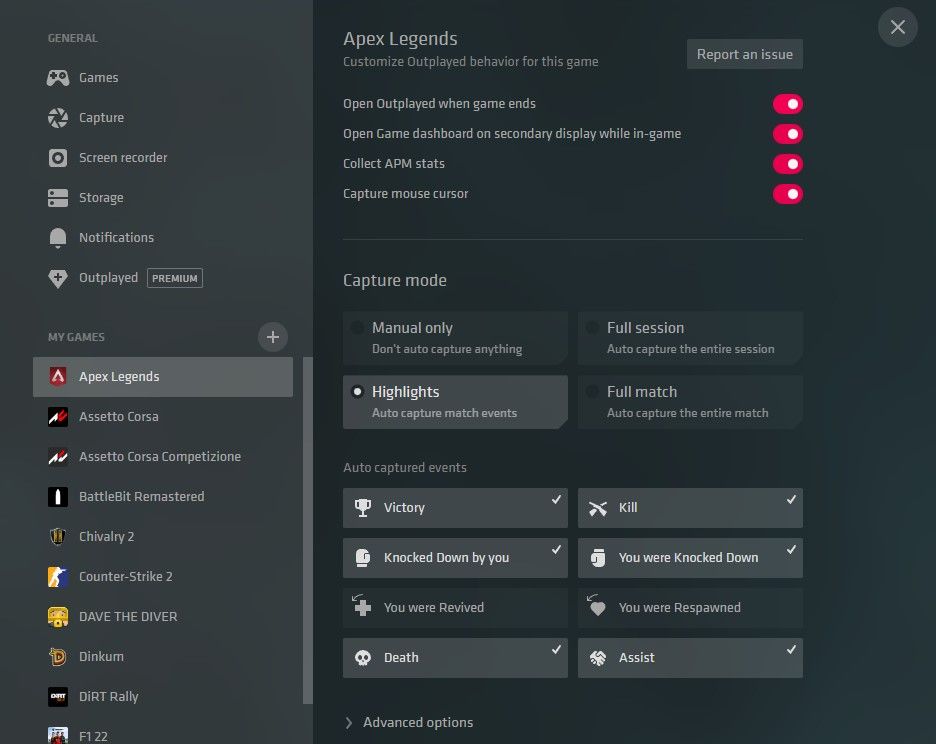
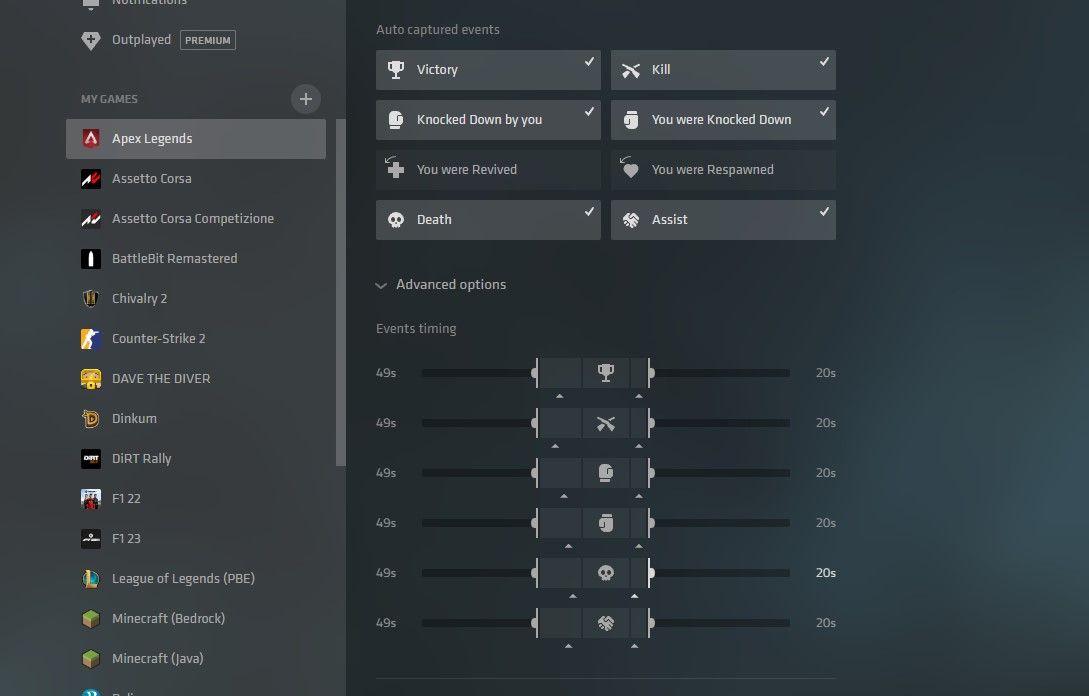
You can check the settings and click the + button and search for your game if Outplayed hasn’t detected it already. If you click on your game on My Games list, it should have an Auto captured events section if Outplayed supports it for the game.
For example, Apex Legends has eight events that can trigger auto-capturing.
While you’re in the settings, you might want to turn off Open Outplayed when game ends in case that feature annoys you. However, I find it convenient so I don’t forget to save good clips.
3. Customize Your Highlight Events
In case you don’t want to miss moments that build up to or happen after the event, you can customize the before and after duration of those events.
To customize the events, go to settings through the gear icon on the bottom-left, then click on the game you want to customize. In the game’s settings, click on Advanced options to open up the event sliders and choose how long you want the before and after duration to be. Though, most of the time, the default settings are pretty good.
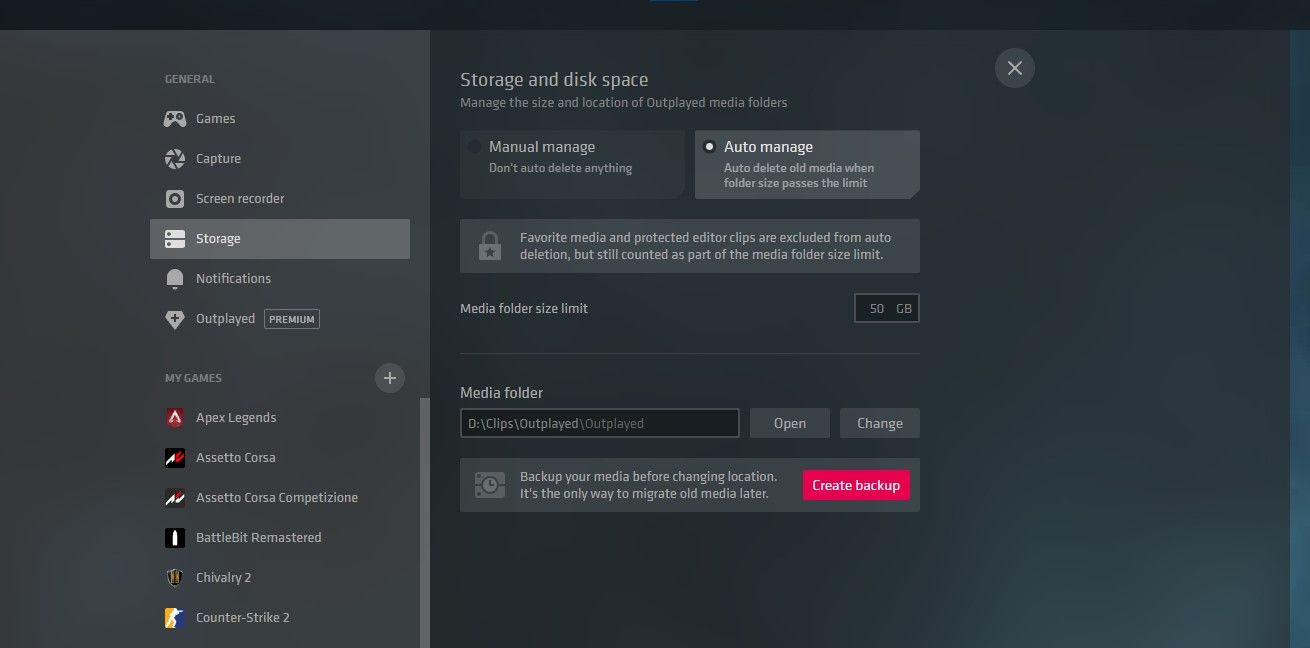
If you’re worried about storage with all the automatic recording, you can set a storage limit. It’ll delete the oldest clip once it passes the limit. Don’t worry, you can favorite a clip by clicking the star icon so that it won’t get deleted.
4. Review, Save, or Edit Your Highlights
When you’re done playing, Outplayed will automatically open after closing the game so that you don’t forget to review and favorite your clips.
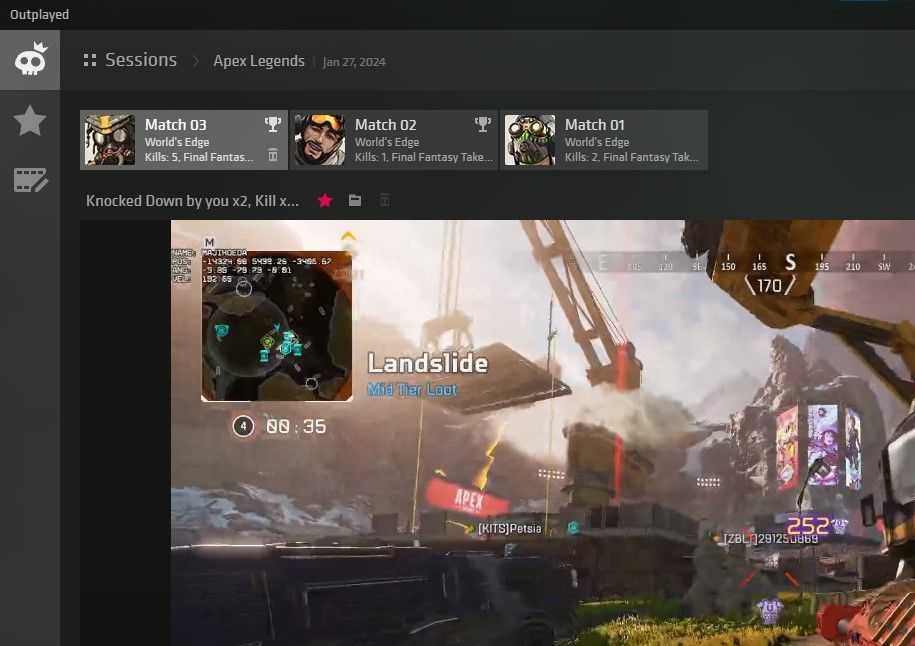
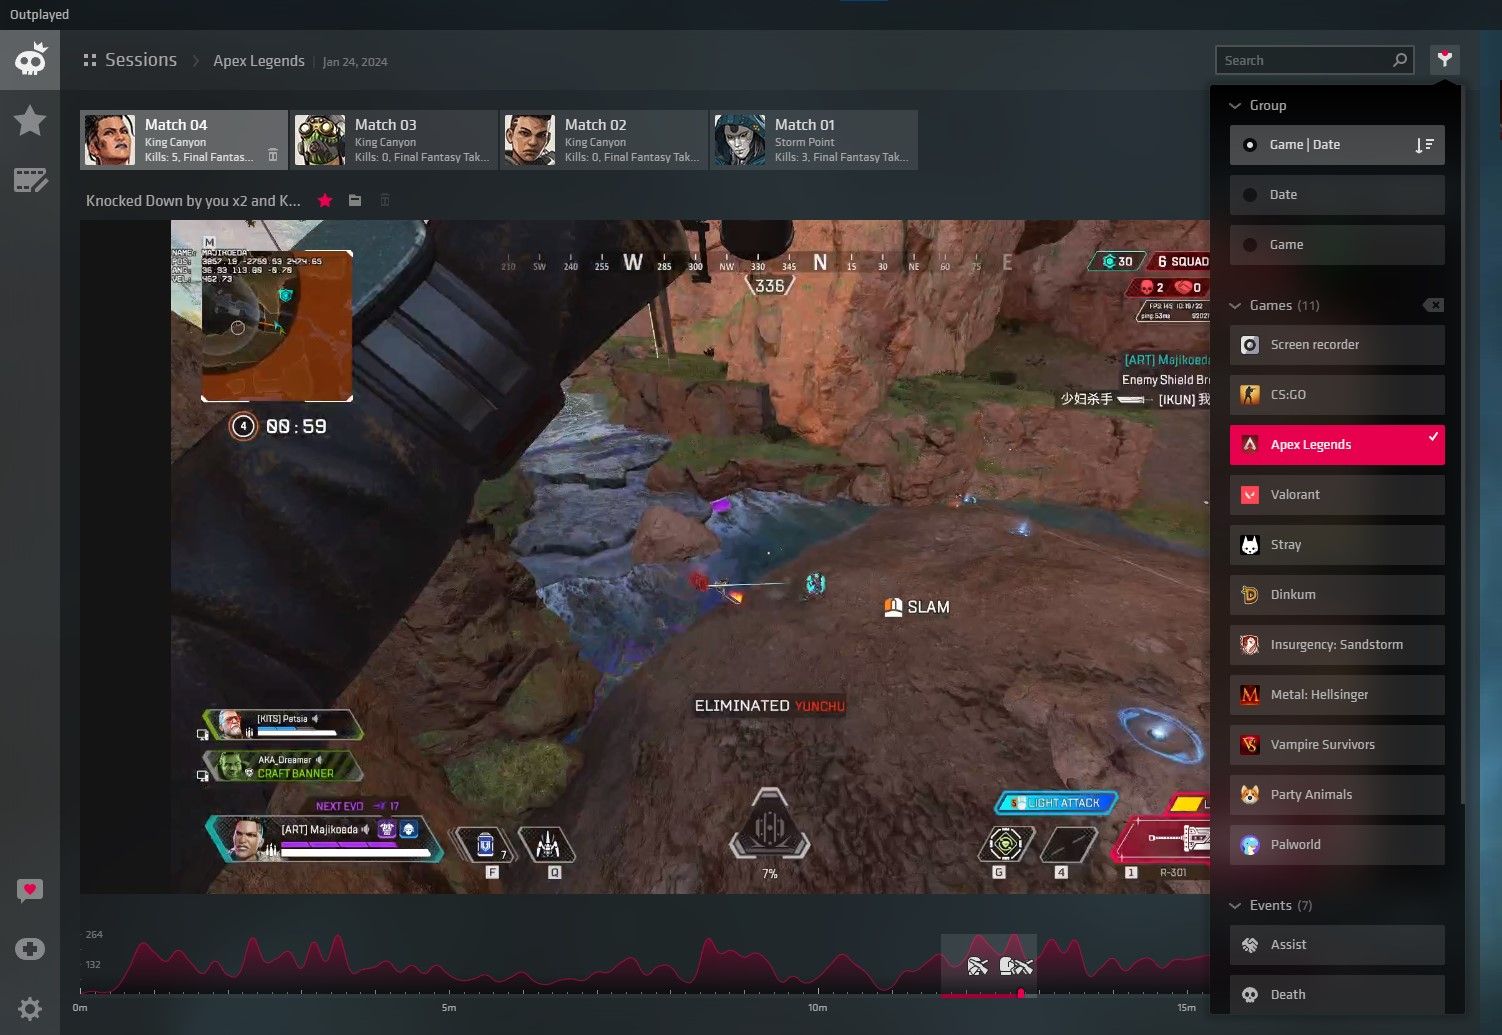
Outplayed knows if you’ve started a new match. This means that your clips don’t get jumbled up. You can also sort by the game and date in case you’re looking for an older clip.
If a clip is too long, you can open it in the editor or click on the Quick Edit button to quickly save it as a new clip.
This won’t delete the original clip, it’ll create a new clip that’s to the length you edited it at.
You can also rename the clip to easily find it in the file explorer if you want to manually upload it. To head to the clip’s location in the File Explorer, you can click on the folder icon on the upper left beside the star icon.
You can now manually upload your gameplay to YouTube, Twitter, Facebook, or wherever you want to share your clips. We hope you enjoy using Outplayed and never miss your best moments in your games.

